
Walls & ceilings
How to fix a hole in drywall
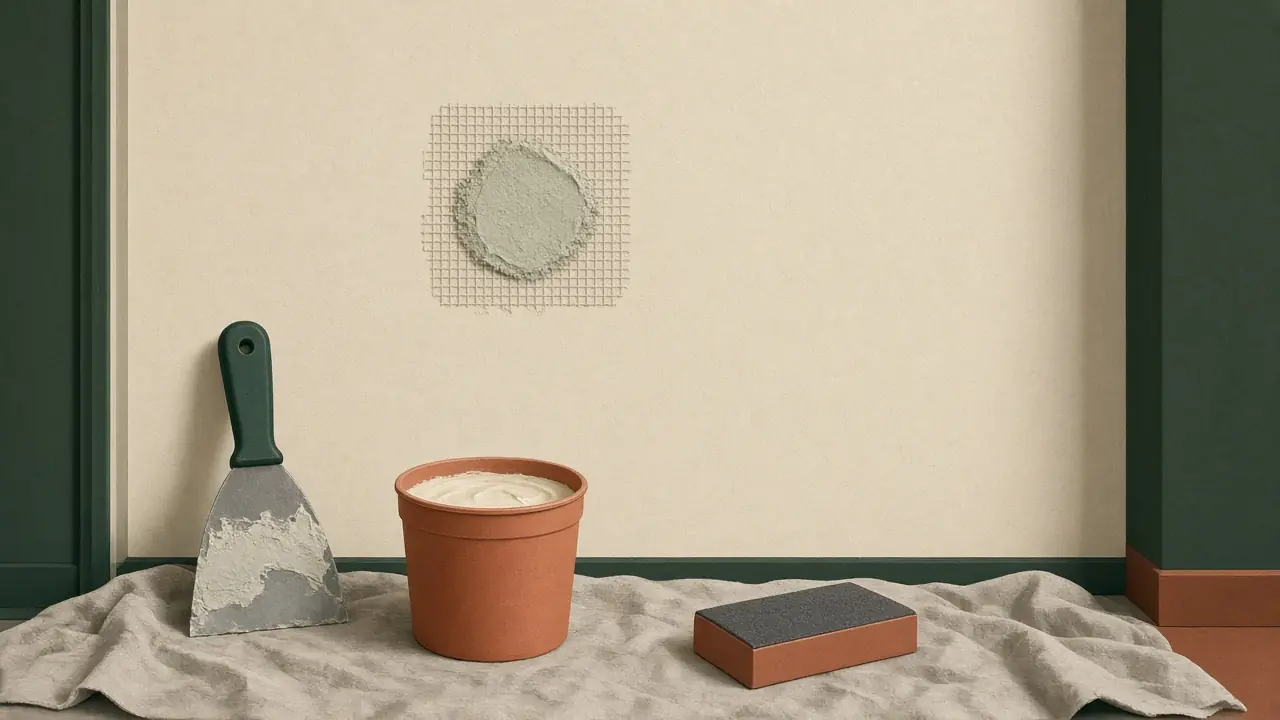
How you fix a hole depends mostly on its size. USG, which makes Sheetrock drywall, splits repairs into three groups, and this guide follows that: small holes and dents get filled, medium holes up to about 2 in get bridged with tape, and anything bigger than 2 in gets a new piece of drywall.
Before you cut or sand: look for wires and pipes before cutting into a wall. Turn off the breaker for any outlet or switch nearby. Sanding dust irritates the eyes, nose, throat and lungs, so USG recommends ventilation, eye protection and a NIOSH-approved respirator. In older homes, be careful with what you sand: houses built before 1978 may have lead paint (see the EPA’s guidance), and federal rules didn’t ban asbestos in consumer patching compounds until 1978. If your walls or textured ceilings could be older than that, have them tested before you sand or cut them.
What you need
- Joint compound. USG recommends setting-type compound (sold as powder you mix, such as Easy Sand) for repairs, because it hardens in a set time rather than drying slowly.
- Paper joint tape for medium holes and cracks.
- A putty knife or 6 in taping knife, plus a wider knife for the final coats on bigger patches.
- Sanding sponge or fine sandpaper, a damp sponge and primer.
- For large holes: a scrap of drywall the same thickness as the wall (measure the edge of the piece you cut out), drywall repair clips, drywall screws, a utility knife and a keyhole or jab saw.
Small holes, dents and popped nails
- Trim any loose paper or crumbs from the hole and wipe it clean.
- Fill it with compound using a putty knife, then scrape it flush.
- Let it harden. Compound shrinks a little, so add a second coat if it’s dipped.
- Sand smooth when dry, then prime.
Popped nail: drive a new nail about 1½ in from the popped one, then drive the popped nail back in, so both sit in a slight dimple. Cover the dimples with compound, sand and prime.
Medium holes (up to about 2 inches)
This is the doorknob or wall-anchor size.
- Trim loose pieces from the edge and wipe the area clean.
- Spread a generous amount of compound around the edges of the hole.
- Crisscross two or three strips of paper tape over the hole and press them into the compound with your knife. Let it harden.
- Apply a coat of compound over the taped area and let it harden.
- Add a second coat, feathered a little wider. Sand and prime when dry.
Self-adhesive mesh patches from the hardware store are another option at this size. Follow the directions on the package.
Large holes (over 2 inches) or water damage
Here you replace the damaged section. USG’s method uses repair clips, so you don’t have to open the wall back to the studs:
- Cut out the damage in a neat square or rectangle. Use a utility knife along studs and a keyhole saw between them. Remove the old screws or nails.
- Fit the repair clips. Slip drywall repair clips onto the edges of the opening. Drive a screw through the wall into each clip, about ¾ in from the edge and centered between the tabs.
- Fit the new piece. Cut drywall to fit the opening and screw through it into each clip, about ¾ in from its edge and opposite the first screw.
- Snap off the clip tabs.
- Tape all four seams. Don’t overlap the tape at the corners.
- Apply second and third coats, letting each one harden and feathering each a bit wider than the last. Sand and prime when dry.
If the hole came from a leak, fix the leak and let the framing dry out before you close the wall. Replace any drywall that’s soft or stained, not just the visible hole. The EPA advises that absorbent, porous materials such as ceiling tiles and carpet may have to be thrown away if they become moldy, and drywall’s paper face is porous too.
Finish so it disappears
- Feather the edges. Each coat should extend a couple of inches past the one before, so there’s no hard ridge.
- Sand lightly. Sanding through to the tape means another coat.
- Prime before painting. Unprimed compound shows through as a dull patch. USG suggests a drywall primer or a flat latex paint with high solids.
- Match the texture if the wall has one. Textured walls need a texture spray or a similar technique before paint.
Replacing whole walls rather than patching? The drywall calculator estimates sheets, compound and tape for a room. If the damage came from stripping old paper, see how to remove wallpaper and how to paint a room.
Sources
- USG, Sheetrock Brand installation and finishing guide (J371) (PDF), “Repairing damaged panels”.
- USG, Sheetrock Brand drywall repair kits application tips (J1802) (PDF): hole sizes, hardening time and priming.
- USG, Sheetrock Brand Total joint compound submittal sheet (J1508) (PDF): dust safety.
- US EPA, Protect your family from sources of lead.
- US EPA, A brief guide to mold, moisture and your home.
- 16 CFR Part 1304, Ban of consumer patching compounds containing respirable free-form asbestos.
Questions worth answering
Can I use spackle instead of joint compound?
For nail holes and small dents, a lightweight spackling compound works and is sold for exactly that. For anything that needs tape, use joint compound; USG recommends its setting-type compounds for repairs.
Why does the patch show through the paint?
Usually because it wasn't primed. Fresh compound absorbs paint differently from the painted wall around it. USG says to prime the patch before painting, with a drywall primer or a flat latex paint with high solids.
How long before I can paint?
Setting-type compound hardens by chemical reaction in the time printed on the bag (USG's Easy Sand 90 takes about 85–130 minutes). Ready-mixed compound dries by evaporation, which takes longer in cool, humid rooms. Follow the label and make sure it's fully dry before priming.