
Concrete & masonry
How to pour a concrete slab
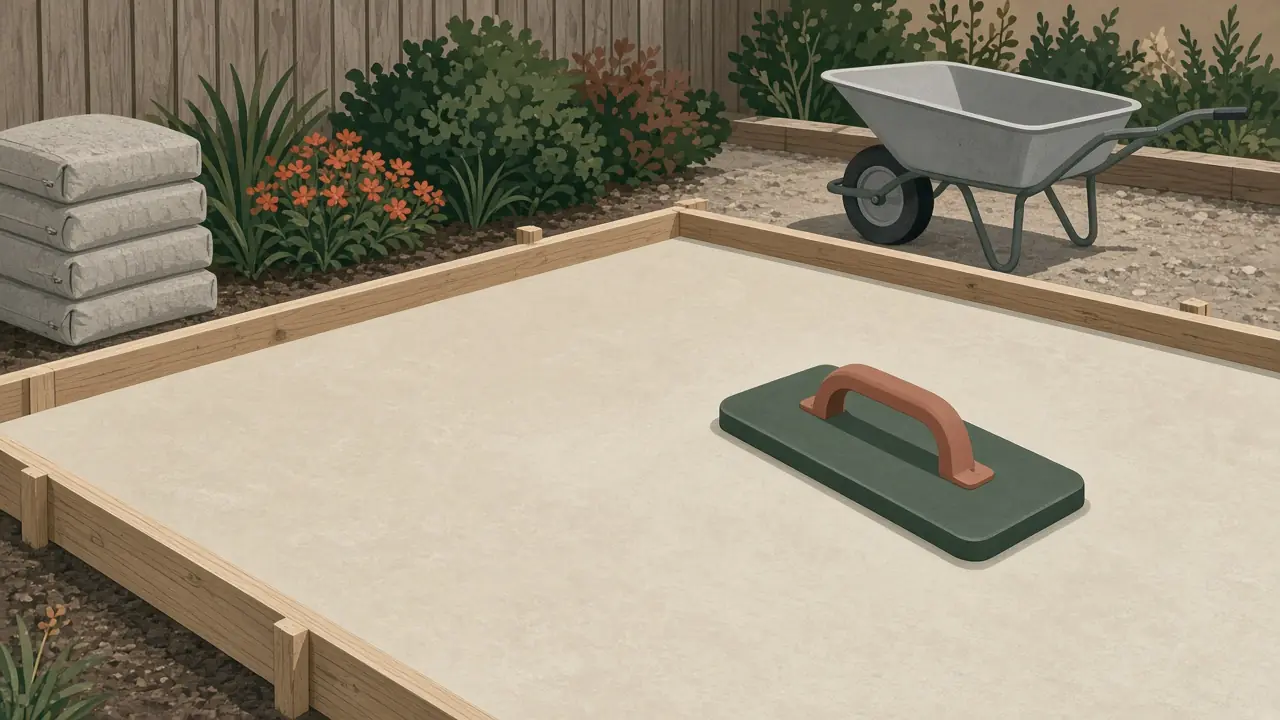
This is the order of work for a small, ground-level slab such as a patio, walkway or shed pad, poured from bagged mix or a small ready-mix load. It isn’t a guide to footings for an addition or a garage. Those follow your building code and usually need a permit and an inspection.
Before you start. Call 811 a few business days before you dig. Ask your city or county whether the slab needs a permit or must sit a set distance from property lines. Wet concrete is caustic. OSHA warns it can cause serious chemical burns, so wear waterproof gloves, long sleeves and eye protection.
1. Work out how much to buy
Use the concrete calculator. A 10 × 10 ft slab at 3½ in is 29.2 ft³: 49 × 80 lb bags before waste, 52 with 5%. One cubic yard is 45 × 80 lb bags. Around that size, think about a rented mixer or ready-mix.
2. Lay out and check the slope
- Mark the outline with stakes and mason’s string. Square the corners with the 3-4-5 method: mark 3 ft along one string and 4 ft along the other; the diagonal between the marks should be exactly 5 ft.
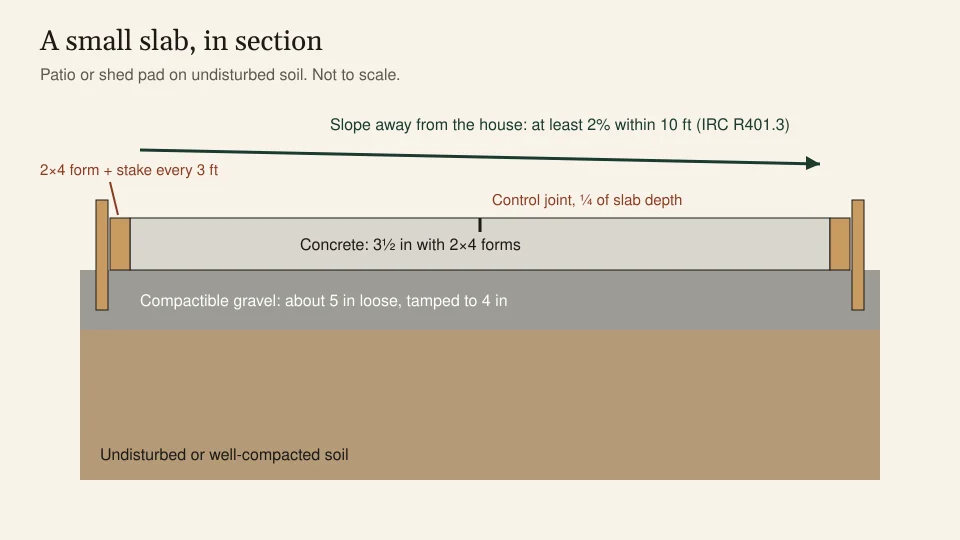
- Level the strings with a line level, then lower them on the far side to build in slope. QUIKRETE uses 1/8 in per foot as a standard slope. Next to a house, the IRC requires impervious surfaces within 10 ft of the foundation to slope at least 2% away from the building. That’s about ¼ in per foot, twice QUIKRETE’s figure, so use ¼ in per foot there.
3. Dig and build the base
- Strip sod at least 6 in beyond the strings so the base extends past the slab.
- Dig to a consistent depth below the strings. For 2×4 forms, that’s 7½ in: 4 in of base plus 3½ in of concrete.
- Spread about 5 in of compactible gravel and tamp it down to 4 in. Soft, sandy or clay soil may need more work. Dig a test hole first. The gravel calculator gives tons for the base.
4. Set the forms
- Cut 2×4s so their inside faces match the slab size, with the inside edges directly under the strings.
- Drive stakes every 3 ft on the outside and screw through them into the boards. Level across the forms, keeping the slope you set.
- Coat the inside faces with release agent or vegetable oil.
- Where the slab meets the house, a step or a wall, glue ½ in asphalt-impregnated fiber board to the structure as an isolation joint.
- Mark control-joint positions on the outside of the forms (see step 6).
5. Pour, screed and float
- Dampen the base without leaving puddles. Mix to the water amount on the bag and fill the forms a section at a time.
- Screed: saw a straight 2×4 back and forth across the forms to strike off excess concrete.
- Float once the shine of bleed water has gone. Working the surface while water is still on top weakens it.
- Run an edger along the forms. For grip, finish with a broom; for a smooth surface, use a steel trowel.
6. Cut control joints
Concrete shrinks and cracks. Control joints make it crack in a straight line where you choose.
- QUIKRETE says a patio larger than 10 × 10 ft needs control joints.
- Common guidance, from ACI as summarized by NRMCA, is to space joints 24 to 36 times the slab thickness. That’s roughly 8–12 ft for a 4 in slab, or closer for a 3½ in one.
- Cut or tool them about ¼ of the slab’s depth, and keep panels close to square.
7. Cure it
Curing means keeping water in the concrete while it gains strength. Either apply a cure-and-seal product as soon as the surface sheen is gone, or keep the slab continuously damp. NRMCA says curing should continue for at least 3 to 7 days, longer in cool weather. Don’t let it alternate between wet and dry.
Sources
- QUIKRETE, Building a concrete patio (layout, 5 in → 4 in base, 7½ in excavation, forms, isolation joints, slope, finishing).
- International Code Council, IRC R401.3 Drainage, via UpCodes (2% slope for impervious surfaces within 10 ft).
- NRMCA, CIP 6 – Joints in concrete slabs on grade and CIP 11 – Curing in-place concrete.
- ACI 302.1R-04, Guide for concrete floor and slab construction, ch. 3.
- Sakrete, High-Strength Concrete Mix (traffic times).
- OSHA, Portland cement skin hazards (OSHA 3351).
Questions worth answering
How thick should a patio slab be?
QUIKRETE's patio project uses 3½ in of concrete (the height of 2×4 forms) on 4 in of compacted gravel. Driveways, garage floors and slabs under structures are often thicker and may be set by local code or a permit, so check before you pour.
Do I need rebar or wire mesh?
QUIKRETE lists rebar as optional for a patio and says fiber-reinforced crack-resistant mix can replace wire mesh. Reinforcement doesn't stop cracking; control joints decide where cracks go.
How soon can I walk or drive on it?
It depends on the mix and the weather. Sakrete rates its High-Strength mix for foot traffic after 24 hours and vehicles after 72 hours. Keep curing it either way.