
Concrete & masonry
How to build a retaining wall
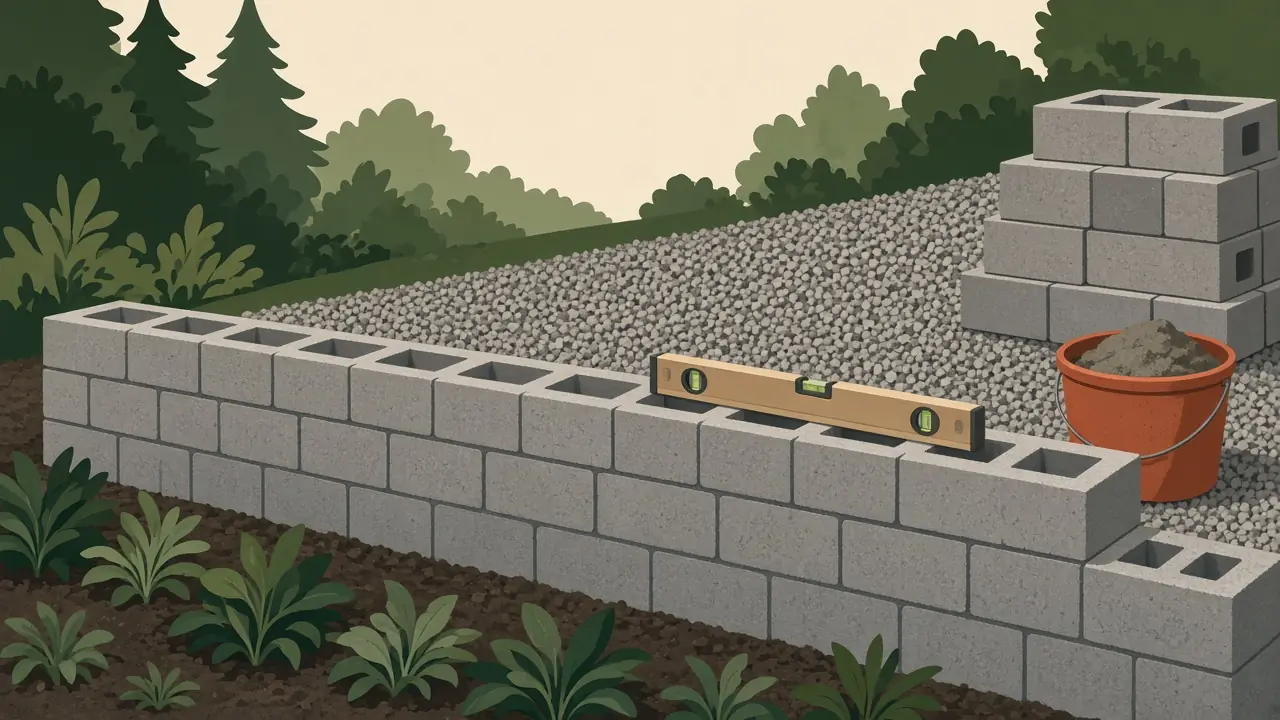
A retaining wall holds back soil, and soil is heavy, especially when it’s wet. Walls fail by sliding, tipping or bulging, usually because of a poor base, missing drainage, or a wall that’s too tall for its design. This guide covers what to check before you build, and how a typical low wall of interlocking segmental blocks goes together, following a block maker’s published instructions.
Know your limits before you dig. In the model International Residential Code, a retaining wall over 4 ft tall (from the bottom of the footing to the top of the wall), or any wall supporting a surcharge such as a driveway, parking, a slope, a fence or a building, needs a permit. Walls retaining more than 4 ft of soil, or more than 2 ft when they also carry other loads, must be designed to accepted engineering practice. Your town may be stricter. If your wall is near those limits, or failure could damage a building, a road or a neighbor’s property, hire an engineer or a contractor.
Before you start
- Call 811 a few business days before you dig. It’s free, and utilities will mark buried lines.
- Check the rules. Ask the building department about permits, setbacks from property lines, and whether your town amends the IRC thresholds. If you have an HOA, check with it too.
- Look at the water. Where does runoff go now? A wall dams it, so plan where it will drain. Don’t direct it onto a neighbor’s property.
- Choose the block. Segmental retaining wall blocks stack dry, with a lip or pins that set each course back. Each maker publishes a chart of the maximum height for its blocks without reinforcement; in Allan Block’s chart, that’s under 4 ft for most blocks and soils. Taller walls need layers of geogrid reinforcement to an engineered design.
How much material
Work out the block count from the wall’s face area and the block’s face size; the maker lists coverage per block. For mortared 8 × 8 × 16 in concrete block, the cinder block calculator does the count, plus mortar and core-fill grout. Use the concrete calculator for a poured footing and the gravel calculator for base and drainage stone.
1. Dig the base trench
Allan Block’s residential guide (other makers’ steps are similar, but follow yours):
- Strip vegetation and organic soil from the area. It can’t be used as backfill.
- Starting at the lowest point, dig a trench 24 in wide, 6 in deep plus 1 in for every foot of wall height, to allow for a buried first course. For walls under 4 ft, the guide allows an 18 in wide, 4 in deep trench, plus the buried depth.
- Compact the trench bottom with at least two passes of a plate compactor. It must be firm. If you hit soft clay, wet soil or old fill, dig it out and replace it with compacted granular material.
2. Lay and compact the base
- If the wall needs a drain pipe (walls over 4 ft, reinforced walls, poorly draining sites), lay it at the back of the trench at the lowest point, and vent it to daylight at least every 50 ft.
- Place at least 6 in of “wall rock” (clean, compactable crushed gravel) and compact it with at least two passes.
- Check it for level along the whole length. A level base is the most important step, because any error grows as the wall goes up.
3. Set the first course
Set the first blocks in the center of the base, level side to side and front to back, against a string line. Make small adjustments by tapping with a dead-blow hammer. Fill in front of the buried course with soil to hold it.
4. Drain and backfill as you go
For each course:
- Fill the block cores, and at least 12 in behind the wall, with wall rock.
- Backfill behind that with soil in layers (“lifts”) of 8 in or less, compacting each one.
- Sweep the top of the blocks clean before setting the next course, offsetting the joints.
Finish the top with cap blocks, glued down with the adhesive the maker recommends, and bring the last 8 in or so of soil behind the wall up with topsoil so it can be planted.
Mortared block walls
A mortared concrete block wall that holds back soil isn’t a stacked garden wall. It generally needs a reinforced concrete footing below the frost line, vertical steel bars set in grouted cores, and drainage through or behind the wall, all to a design. If that’s what you want, get a design from an engineer or your building department’s approved details before buying block.
Sources
- International Code Council, 2021 International Residential Code, section R105.2 (work exempt from permit) and section R404.4 (retaining walls).
- ICC, 2015 IRC significant changes: R404.4 (PDF): the 48 in and 24 in engineering triggers explained.
- Allan Block, Residential landscape retaining wall guide (PDF): planning, height chart, base trench, drain pipe, wall rock and compaction.
- NCMA (now CMHA), TEK 4-2A, Estimating concrete masonry materials.
- Call811.com.
Questions worth answering
How tall can a retaining wall be without a permit?
Under the model International Residential Code (R105.2), retaining walls up to 4 ft tall, measured from the bottom of the footing to the top of the wall, are exempt from a permit unless they support a surcharge such as a driveway, slope or structure. Many towns change this, so check with your local building department.
Do I need drainage behind a retaining wall?
Yes. Water behind a wall adds pressure. Allan Block's guide puts drainage gravel in the block cores and at least 12 in behind the wall, and adds a perforated drain pipe for walls over 4 ft, reinforced walls and poorly draining sites.
Can I use cinder blocks for a retaining wall?
Mortared concrete block walls that retain soil generally need a concrete footing, steel reinforcement and grouted cores to a design. For a DIY wall, interlocking segmental retaining wall blocks are usually simpler, because the manufacturer publishes installation steps and height limits.